Export Your Work
Export Markings
To export markings:
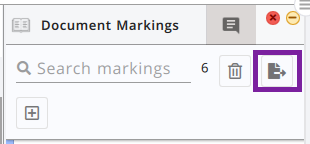
- Open the Markings Panel in the Reader or Outliner Workspace
- Click the export icon
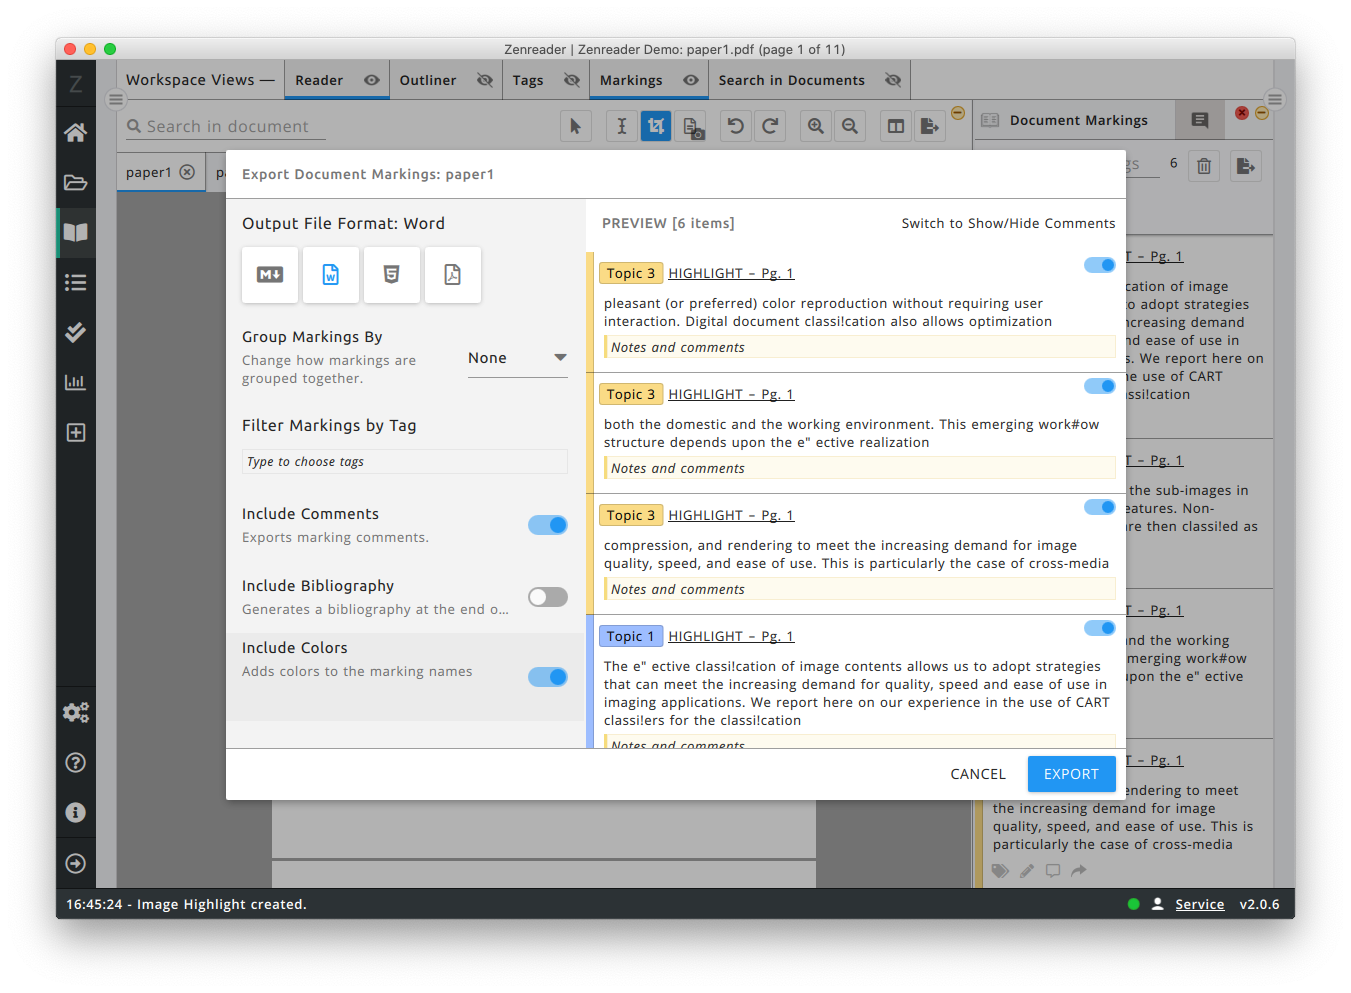
This will open the Export Panel:
- File Format - Choose between Markdown, Word, HTML or PDF for the output file format.
- Group Markings By - This allows you to choose whether the exported markings should be grouped by Tag (markings with the same principal tag appear together in the report), page number (markings are organised by page number).
- Filter Markings by Tag - Here you can select which tags a Marking needs to have in order for that Marking to be exported. Choose the tags from the drop down list.
- Include Comments - Allows you to choose whether you want all marking comments to be exported. You can disable individual comments by clicking on the switches next to a marking, in the preview list.
- Include Bibliography - Whether Zenreader should generate a Bibliography section with all the cited documents at the end of the exported document.
- Include Colors - If disabled, the principal highlight color is not exported.
Export Outlines
To export an outline:
- Open the Outliner Workspace
- Open an Outline
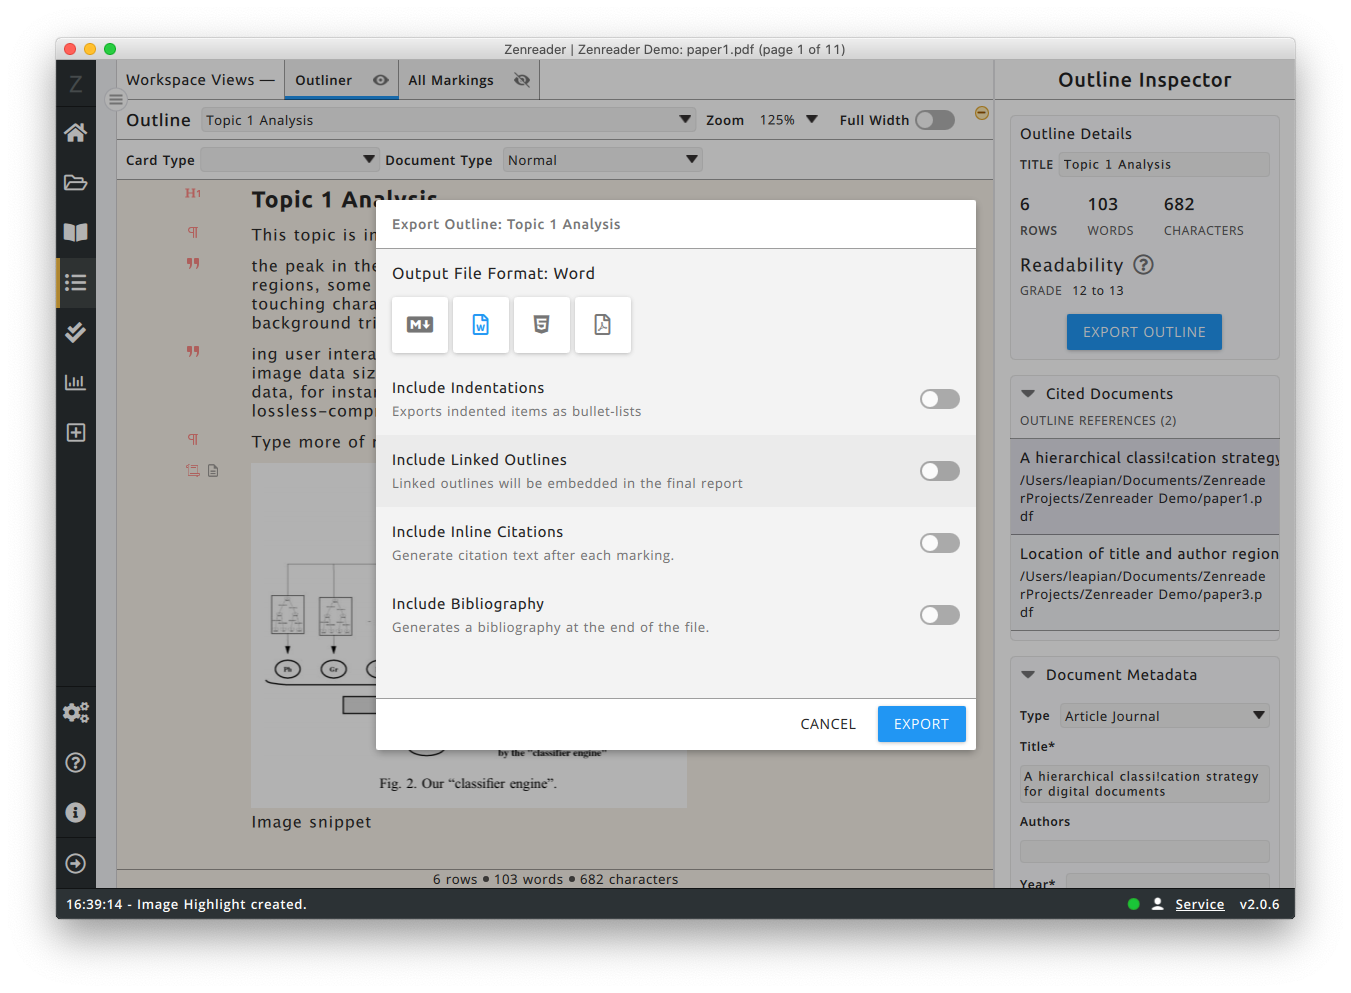
- Use the Export Outline widget in the Outline Inspector (right screen sidebar).
- File Format - Choose between Markdown, Word, HTML or PDF for the output file format.
- Include Indentations - Whether the output document should show indentations [only valid if the Outline mode is set to have indentations]
- Include Linked Outlines - Whether any outlines linked by this outline should also be embedded in the final output
- Include Inline Citations - Whether each Marking in the outline should be exported with a citation at the exact location where that marking appears in the text. This is great if you want to then replace that text with the the relevant Citation using the Reference tools of your favourite word processor.
- Include Bibliography Section - Whether Zenreader should generate a Bibliography section with all the cited documents at the end of the exported document


